Wednesday 20 June 2012

Roof Construction exposed

Attacked the roof with a cutting wheel to expose how its put together 

Rail separating

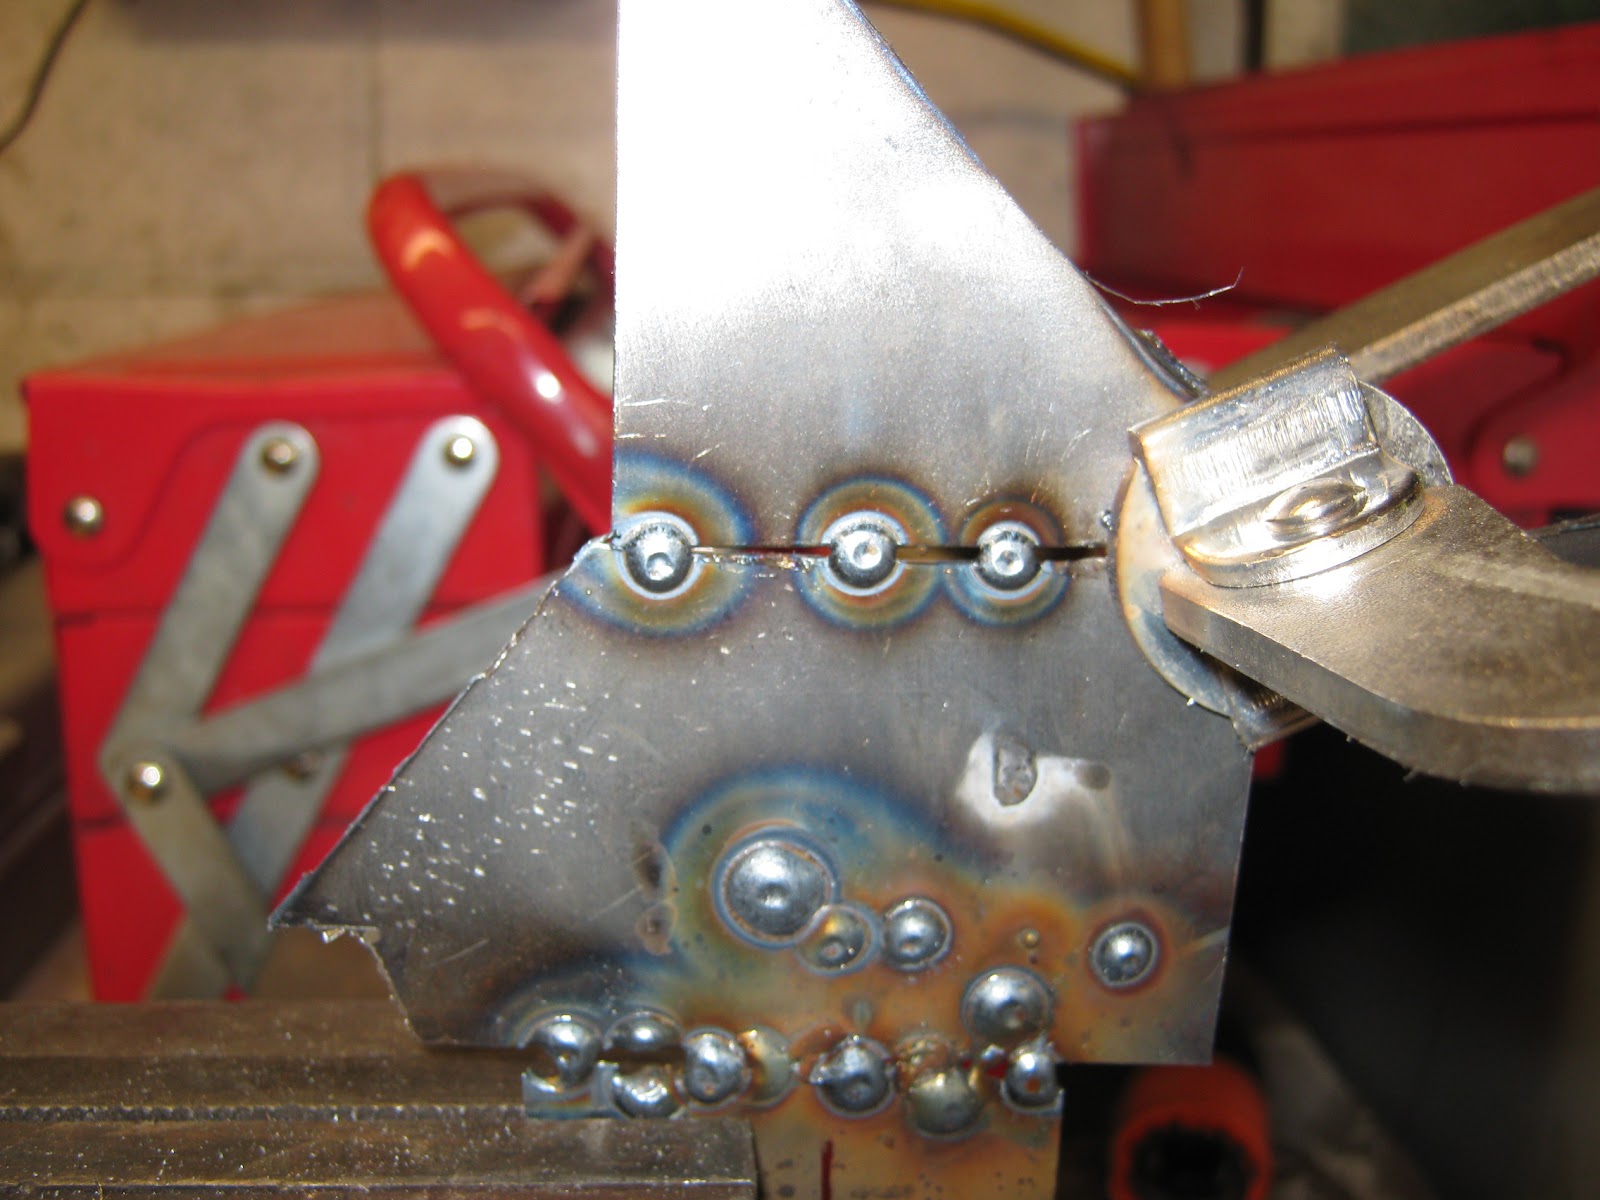
Roof attaches to strip of steel that is then spot welded
 to the 3rd layer that forms the lower return on the drip rail

3rd layer is also rotted out and will need removing

End of drip rail

This may be as far back as i need to cut, it appears to be only
light surface rust along the back edge of the roof - here's hoping!
The plan of attack is to fabricate the roof and 2nd layer while the 3rd layer is still in place, once that fits remove and replace the 3rd layer - this wont be a quick fix

Friday 15 June 2012

Roof Horrors

While waiting for some Brunox http://www.brunox.com/website/productpages/Epoxy-Spray-en.html which i plan to treat the inside of the chassis rail with i thought i would investigate the roof rust - talk about opening a can of worms!


Bubbling up

Attacking with a wire wheel exposed - BOG

Most of the bog removed - no sign of a proper repair here!

Factory tinning

Next - bring out the cutting wheel. To be continued


This now gives me 2 areas of rust to work on, if i get bored with one i can work on the other, Happy Joy!!

Saturday 9 June 2012

Drivers Firewall/Inner Guard patches

Easier than the passenger side as the rot did not extend up to the joint just above it


First patch shaped and fitted

Welded in

Weld through primer applied

Second patch tacked and plug welded on

Welds ground down

Zinc primer applied

Monday 4 June 2012

Drivers inner Rocker repair

A small section at the front of the inside rocker panel had succumbed to rust, this documents the repair procedure i used. The panel is made from 16gauge steel which made fabrication a little harder but welding easier

Very rough layout on 16gauge

Leading edge cut to shape

And bent 90 degrees to form a small lip

Offered up to vehicle

And small rib formed with hammer and dolly and rubber hammer

Offered up again and accurate cut lines drawn on

Clamped in position, 1mm gap to allow good penetration of weld.
Rusted piece for comparison!

Practise tack weld to get wire feed and voltage correct for 16 gauge

Tacked in place. Tacks then ground down and cleaned to make smoother final welds 

Stitch welded in 20mm sections

And ground down only where eventually will be the only visible part

Time to clean up!
I'm happy with the result this time, the whole process took about 3 hours to do this small piece, its a slow job but satisfying to see the results.

Sunday 3 June 2012

Drivers side rust

After turning the car around on the dolly i attacked the drivers side with cutting disc and wire brush to remove rusted metal


Evidence of poorly executed previous 'repair',
aluminium and bog in the front of the sill under the guard

Guard removed

Some rust on inner sill

Lurking behind the 'rifle butt'

Rust cut out

All rusted metal cut out and wire brushed to ensure good welds,
 notice surface rust on inside of chassis rail

Cancer cut out,  2kg of iron oxide

Chassis rails are solid but there is some surface rust on the insides of the box section which i would like to get rid of, a spot sandblaster would be good, unfortunately i don't have one!